Thursday, October 28, 2021

Binge Build: A Detracting Dose of 'Die-Crushed' Defects

 Ok, as I was preparing to get started brushing thinned CWF on the fins of my group-built rockets, I happened to note that some of the end grain edges of the Big Daddy fins were in pretty sad shape.

This of course, was a result of Estes' not-so-great 1990s' era balsa sheet die-cutting process.

I had to set to work with spackling on some thicker CWF to fill the gaps and holes, and sanding the edges smooth.

Now things are in proper order, so I can get back to grain filling and (sigh).....much sanding.

Binge Build: A Fin Filleting Fiesta...

 Here is the result of an afternoon spent getting my fingers all sticky with glue...

Fin fillets for the mass build are now completed.

As a rule, I usually do two applications of glue per fin joint.  The first applies the main fillet, and the second goes on to fill in any unsightly bumps or gaps that may have formed.

Inevitably, there might still remain a few random imperfections in the fillets. These can be quickly and easily fixed with further spot glue application.

The main goal is to produce smooth, even fillets the full length of the fin root. Such fillets go a long way in determining how the finished rocket will look once paint is applied, so I like to take my time on this step.

My next post on this build may be a bit longer in coming, as I will begin diving into the long, arduous task of filling and sanding the balsa grain on all of these birds. 

See you when I next surface for air.....

Cheers!

Wednesday, October 27, 2021

Binge Build: Forty Fin Fitting

 Yep, that's the number of balsa fin pieces spread across this six-rocket build.

The past couple of evenings has been spent in the process of gluing them on.

Again, I am deviating from my standard building MO in that I am attaching the fins before doing the grain filling and sanding. 

Usually, I do that part on the unassembled fins prior to attaching them, but I figured it might be better for the general flow of this project by doing it post-assembly.

The only exceptions are the small balsa vanes for the Crossfire ISX, and the fins for the Icarus booster section.  The latter are papered for extra strength.

Here is a pic of the first evening's 'fin attachment production line'.  I set up my portable workbench in the bedroom where I could watch a movie with the missus while gluing up fins:

Here is a pic of all the models with fins successfully attached. Kinda beginning to look like rockets!

Next step: applying fillets.

Here are the first two... only 78 more to go....


Tuesday, October 26, 2021

Binge Build: A Large Lot of Launch Lugs !

 Today's post covers the construction process of all the launch lugs for the multi-rocket project.

I am trying out a radically different way of approaching this step.  My normal method was to first do seam filling and sanding, glue the lugs to their 1/16 by 1/8 balsa standoffs, glue those assemblies to the model airframe (after the fins have already been done), and apply glue fillets.

My new method entails doing all of this before the model's fins go on.  I have found it to be immensely easier to attach these small low-profile parts without having to work around taller fins.

Also, the order of operations is changed. 

First, the standoffs are glued on along the marked line.  When these are dry, the lugs themselves are glued to the standoffs.  Alignment can be done much more quickly and precisely.

Next, it's an easy matter to apply the glue fillets.

Finally, the lug seams get the normal CWF fill and sanding. Plenty of room to do this without interfering fins to worry about.

Here are all the rocket airframes with these processes completed:


Monday, October 25, 2021

Binge Build: A Cache of Cradles

 Before I get too much further into this build, I will need a number of rocket-holding cradle stands for gluing fins and applying fillets.

A half hour spent in the LEGO room was good for taking care of these needed fixtures...

While I'm on the subject of LEGO, check out my blog page on that subject. The link is in the "All of My Blog Pages" list found at the right side of this page. Lots of cool brick stuff to be found there ...

Cheers!

Sunday, October 24, 2021

Binge Build: A Passel of Pencil Marks !

Here is the part of the build project where I have to actually pull out some of the kit instructions to ascertain the proper placement of fins, launch lugs, and whatever other details there happen to be. 

Setting to work with a precision-sharpened pencil, fin spacing guides, ruler,  and a length of metal shelving standard to draw the longitudinal lines, I soon have a set of tubes all ready for assembly.

Time to fire up the ol' glue pot...

Saturday, October 23, 2021

An Array of Assembled Airframes...

 This part of the big year-end rocket-fest consists of gluing the freshly-built motor mounts into their respective airframe tubes.

Epoxy was used to secure all of the mounts.

Here is a shot of the 'business-ends' of all the models.

Next stop: tube marking, launch lugs, and fins.

Friday, October 22, 2021

Binge Build: A Motley Mix of Motor Mounts !

 This part of the build focuses on building up the motor mounts for each of the selected model rockets.

Here is a group pic of all the completed mounts:

Mounts that use the (flimsy) paper rings have been reinforced with balsa support vanes to prevent them from flexing under thrust forces.

For the BT-60 sized birds (Big Bertha and Esam-58), I went with some longer BT-20 stuffer tubes.

One further modification to the Big Daddy mount involves building the motor tube to accommodate the longer E- motors.

For a couple of these mounts, I didn't have enough centering rings in my parts stash, so I cut some out of 1/16 basswood. 

Additionally, a lack of enough stock engine hooks meant that I had to fashion a couple out of old windshield wiper springs.

Sometime in the recent past, I must have raided the kit pile to purloin some of these parts for other scratch-built models.

Oops, yet another motor mount modification: 

It seems that, at some point in time, I lost the inner motor retainer ring that came with the ESAM-58 kit.  So, this mount gets the normal motor hook, instead.

"Hey, BlastFromThePast, you said you were starting six new kits. How come the photo shows seven motor mounts?"

Very astute observation.

The short answer:  I am modifying the Quest Icarus build considerably.  The shorter 35mm tube, instead of being a payload  section, is being built as a 24mm motor booster stage.   The Icarus will share the Big Rage's payload section with that model. Awhile back, I lost the Big Rage "Nike Smoke" nose cone, and ended up stealing the nose from the Icarus kit to replace it.

Confused?  Me, too...

In the near future, I intend to send off an order to Quest that will include a new Nike Smoke nose cone and a 35mm tube, so I can straighten out the mess and restore both birds to their original form.

For the Icarus booster, I had intended to cut centering rings out of basswood, but I have since discovered that an Estes BT -55 fits snugly inside of the Icarus' 35mm tube. I can now make the components by gluing Estes 50-55 rings into short lengths of BT-55. A very convenient and time-saving work-around.

Here is the tube-cutting process I use:

A shop-built "Kuhn Cutter" made from some Home Depot paint stir sticks makes for some precision cuts for the two centering ring BT-55 extensions.  This particular tube came from a Cherokee-E kit in damaged condition, so it's perfect for cutting up into shorter useful parts.

This is the finished motor mount, now ready to plug into the Icarus booster.

Next step: Gluing 'em all into the airframes.

More to come...


Wednesday, October 20, 2021

Binge Build - A Substantial Stack of Shape-Sanded Fins

This step of the great rocket building caper involves the formidable task of sanding the myriad fins.

First, all of the edges get squared up, and laser/die cut marks removed.  

My standard method of operation for this involves clamping a sanding block vertically in the shop woodworking vise.  A sheet of plate glass provides a great bearing surface to slide the balsa stock back and forth against the block.  This results in a perfect ninety degree edge on all surfaces.

The beverage shown is an additional essential requirement for this operation.

Tip:  This is also a very efficient method for gang sanding stacked hand-cut fins so that they are of identical shape and size.  I followed this procedure for the set of Big Bertha fins.

Next, a medium grit sanding block is used to round the leading and trailing edges of all the fins.

Finally, the components get a once-over with 400 grit sandpaper to smooth things out.

Here are all of the completed fins for six model rockets ready for assembly:

Moving on....

Friday, October 15, 2021

And Now Some News From The Ends Of The Earth ....

 Some of you may have already seen this on the JimZ website, but I just ran across it.

This is quite amusing.

http://www.spacemodeling.org/jimz/estes/estfeo.pdf

This is not a direct link to the pdf. If you cut and paste the above into the URL bar, it'll get you there.

Also be aware that JimZ is not a secure site.

More proof that the Flat Earth movement is becoming increasingly popular around the globe!

Perhaps I should add this to the model build queue.  It's a model rocket and a CP cutout all in one.

Cheers!

Binge Build: A Bevy of Body Tubes!


 Here are the body tubes of this multi-rocket simul-build - spiral seams filled and sanded.

 More to come....

Wednesday, October 13, 2021

Binge Build: A Flock Of Fins!

Last evening was spent in removing the fins for six different kits from the balsa stock sheets.

Of course, the Big Bertha fins, being part of a scratch build, were cut the old school way with a pattern tracing on blank stock.

The Quest Icarus and Estes Big Daddy kits are of 1990s vintage, so the fins are removed from die-crushed sheets.

The rest are laser cut fins.

Here is the stack of raw fins:

This kind of reminds me of the number of balsa pieces labored over in my recent Orbital Transport build!

Next step is, of course, shape sanding.

While I was at it, I traced out pattern sheets of all these fins on Manila folder stock for future reference.  That's a good practice, in case one ever needs to replace a broken fin, do a rebuild, or build an upscale.

Cheers!


Tuesday, October 12, 2021

The Great End-Of-Year Binge-Build !

 Just last night, while I was tinkering around in the workshop, I realized that my rocket-building output has been exceedingly dismal this past year.  So far, in 2021, I've only eked out three new model rockets!

 And even these these were all mostly done in 2020 up to the point of painting and decaling.

Then I looked at all the un-built kits languishing in the model cabinet.  Many of these have been hanging out there for two or more years.

So, I have resolved to pull a number of these kits out and do parallel builds on them.

"Simultaneously at the same time!"

My goal is to get them all completed by December 31st.

Realistically, I might not hit that target date.  Since colder weather is coming upon us, getting them all painted in time could become an issue, but I will give it the ol' college try.

The kits that are part of this great venture include the following:

* Big Bertha.  (This one will actually be a scratch build. I have all the parts on hand.)

* Nike-X

* Quest Icarus

* Crossfire ISX

* Esam-58

*Big Daddy

* Interceptor (This one is well into the build process already, having been started last Spring)

* Steampunk Protostar  (This long-suffering project will now be seen through to completion!  Promise!)

This odyssey will be very reminiscent of the old days, when I would have up to a dozen contest birds in simultaneous builds in preparation for upcoming NAR events, amidst a short time window to get them done.

Blog posts on this new endeavor will by no means consist of  detailed construction notes, rather it will be a regular series of progress reports adorned with photos.

Time to get crackin'.....


Monday, October 11, 2021

Pics From The October 1 Video Cam Flight

 Back on October 1st, I flew another keychain video camera mission at Dove Valley Park in Centennial, Colorado.

The camera was strapped to a Quest Big Rage model rocket flying on a C6-5 motor.

Here are some of the more interesting still frames I pulled off of the flight video:

1. A view of the launch area just after motor burnout.  A group of BARs and their range prep areas are visible.

2. This is a view of the intersection at the northwest corner of the park: 


3.  An aerial view of one of the park facilities:


4. Another shot of the same intersection as above, only this time while the model was descending under parachute:


5. A random view of the north-bordering boulevard:


6.  The model drifted back in very near to the launch pad area.  In the process the video picked up some shots of the other rocketeers in the vicinity.   This is Jim Gazur engaged in some prep work.  His Soviet N1 Moon Rocket model can be seen nearby on the launch pad:


7.  This is Mike Goss, taking time out to watch the Big Rage's return:


Seconds later, my voice can be heard on the camera's audio:

"Geez, I just missed it!!"  

This was in reference to my failed attempt to catch the model in mid-air.

I have really been enjoying flying this vid cam.  Kind of reminds me of the old days when I used to fly Cinerocs.  These new-fangled keychain cams and their associated digital processing procedures are far easier than fussing and tinkering with reel motors, pulleys, mirrors, and 8mm film packs!


Tuesday, October 5, 2021

Launch Date: October 1st, 2021

 After several weeks of launching inactivity here in the central Colorado Front Range area, we finally were blessed with an ideal day. This was  after an extended period of unhealthy air quality due to all of the western wildfire smoke coupled with incessant wind conditions. 

Lee Reep, Mike Goss, Jim Gazur, and Yours Truly converged on Dove Valley Regional Park for a morning launch session in near-perfect windless conditions.  Great time to break out the gliders and higher-powered flights.

Lee Reep started things off with a great flight of his Estes Recruiter.  The model logged two excellent flights - one on a C11-3, and later, powered by a D12-3.


My first flight of the day was made with the old Mini-Brute Hornet. 

This was the 50th and final flight for my first model rocket. It carried a payload of two U.S. dimes - dated 1973 and 2021, representing the years of its first and last launches.  

Today, old #13 turned in a perfect flight on A3-4T power, drifting in under parachute close to the launch area. I was even able to run and catch it in mid-air!  The Hornet is now officially retired.

By this time, Jim Gazur and Mike Goss had arrived.

Mike quickly prepped his firs bird of the day, an Art Applewhite Paper Copter.  Flying on an A10-PT motor, the model turned in a low and very amusing performance.

Since wind conditions were so perfect, I decided it was time to fly a boost/glider.  Honors went to a 1/2A6-2 powered Wasp.

Boost was perfect, but at ejection, the shock line broke, and the glider with pod still attached plummeted to the turf. Surprisingly, the model sustained no damage.

Mike soon had his next bird on the pad, a Mini Mars Lander. 

The model flew nicely on an A10 motor, but the parachute failed to eject.  Despite a rather hard landing, the model survived with no damage.  He later sent the model aloft for a second flight, this time enjoying a successful parachute deployment.

My next flight again featured glider action. This time it was an MPC Lunar Patrol clone.

The model turned in a picture perfect flight on a B4-2 motor. Both gliders detached and settled into well trimmed glides.  All three components were safely recovered within close proximity to the launch area.

Lee Reep launched a beautifully finished Semroc Squire on an A8-3 motor. Flying low on the given impulse, the model turned in a great flight, landing close to the launch pad.

Mike was soon back at it with an interesting model - a scratch-built Cyclone employing 'maple-seed recovery. Flying on 1/2A-3T power, the model flew very well.  Both sections spun rapidly on descent, making for a very outstanding sight!


My model box contained one more glider model: a scratch-built Orbital Transport.  On ignition, the bird boosted nicely, but then arced over and started heading downward.  The B6-4 motor's ejection charge went off after the model had descended by about half of its achieved altitude. In addition, there was no parachute deployment. The orbiter did separate and glide very well. Upon recovery of the model, I found the parachute stuck in the body tube. The two lower wing rudders had been knocked off on the landing. Easy repair. I'm not sure why the model's flight path behaved in this manner. It had been flown previously on a B6-4 with no problems.

Now that I was done flying gliders, it was time to break out the Quest Big Rage for a video cam flight.

 The model turned in a perfect flight on a C6-5, and returned close to the launch area. 

Again, I ran to catch it, just barely brushing the shock cord with my fingertips.

Anyway, here's a still from the flight video showing my rocket-borne selfie:

An Estes Mini Honest John was the next model sent skyward by Mike Goss.  The little bird turned in a perfect flight on an A10-3T motor.

Lee Reep got back into the action again, with a very nice B4 powered flight on a kitbash of  an Estes RTF model, which he hasn't given a name.


So far wind conditions were perfect, and none of the models flown strayed very far from the launch area.

Where was Jim Gazur during all this?    Prepping an interesting model, of course.  Jim never disappoints when it comes to flying unusual, and spectacular, models.


This time it was a Soviet N1 Moon Rocket featuring 3D-printed parts from David Koo. Jim flew the highly impressive-looking bird on an Aerotech F67-4W motor for a spectacular liftoff.  The model carried a Perfectflite altimeter which gave an altitude reading of 220 feet.  


Surprisingly, the thrust of the F67 was enough to completely shatter a ceramic tile blast deflector!


Kudos to Jim for being probably the first rocketeer to fly an F motor successfully at Dove Valley Park!

My next launch went to a Cherokee-E on a D12-5. 

Textbook flight with a straight up boost, perfect parachute deployment, and recovery close to the launch area. Again, I just barely missed catching the model as it descended. One for three...

Mike put up a very nicely built and finished Estes Puma. 

The model boosted nicely but experienced a para-wad recovery.  No damage, however.

Next out of my model box was a Quest Nike-K on a C6-5 motor. 

For some unexplained reason the model tipped off during boost and described a severe arc toward the north. Everyone lost sight of the model.  Surprisingly, I just happened to catch a brief glimpse of it hanging under parachute just seconds before it drifted below the grass berm at the park perimeter!

The model was found about 50 feet within a weed field across the street.

In the meantime Jim Gazur had his next bird prepped and ready to go.  This time it was  a 1:24 scale V2 from Spacemonkey Models.  

The impressive model flew on a Quest D20-4W motor, and carried an Eggtimer Apogee flight computer to handle parachute ejection.

Unfortunately, there was no recovery system deployment, so the flight ended in the day's one and only 'lawn-dart. 

Surprisingly, damage to the model was only in the form of a split internal stuffer tube.  The V2 will live to fly another day!  Jim later discovered that the cause of the failure was the result of the Apogee electrical connector separating during boost. 

Mike Goss put up an amusing flight with a LOC IV model.  Flying on a 1/2A6-2 motor, the model reached a peak altitude of perhaps 15 feet, popped its 'chute and floated down next to the launcher!

My final flight of the day was made with a scratch-built Satellite Interceptor. Flying on a B6-4, the model boosted nicely, but the parachute separated at ejection. The model free-fell in a horizontal position, thus landing moderately softly on the turf. Not a scratch!


Lee Reep finished things off for the day with a very nice launch of his 40-year-old original Estes Trident (!)  This flight marked Lee's first use of one of the new C5-3 motors.  It fit the bill nicely.


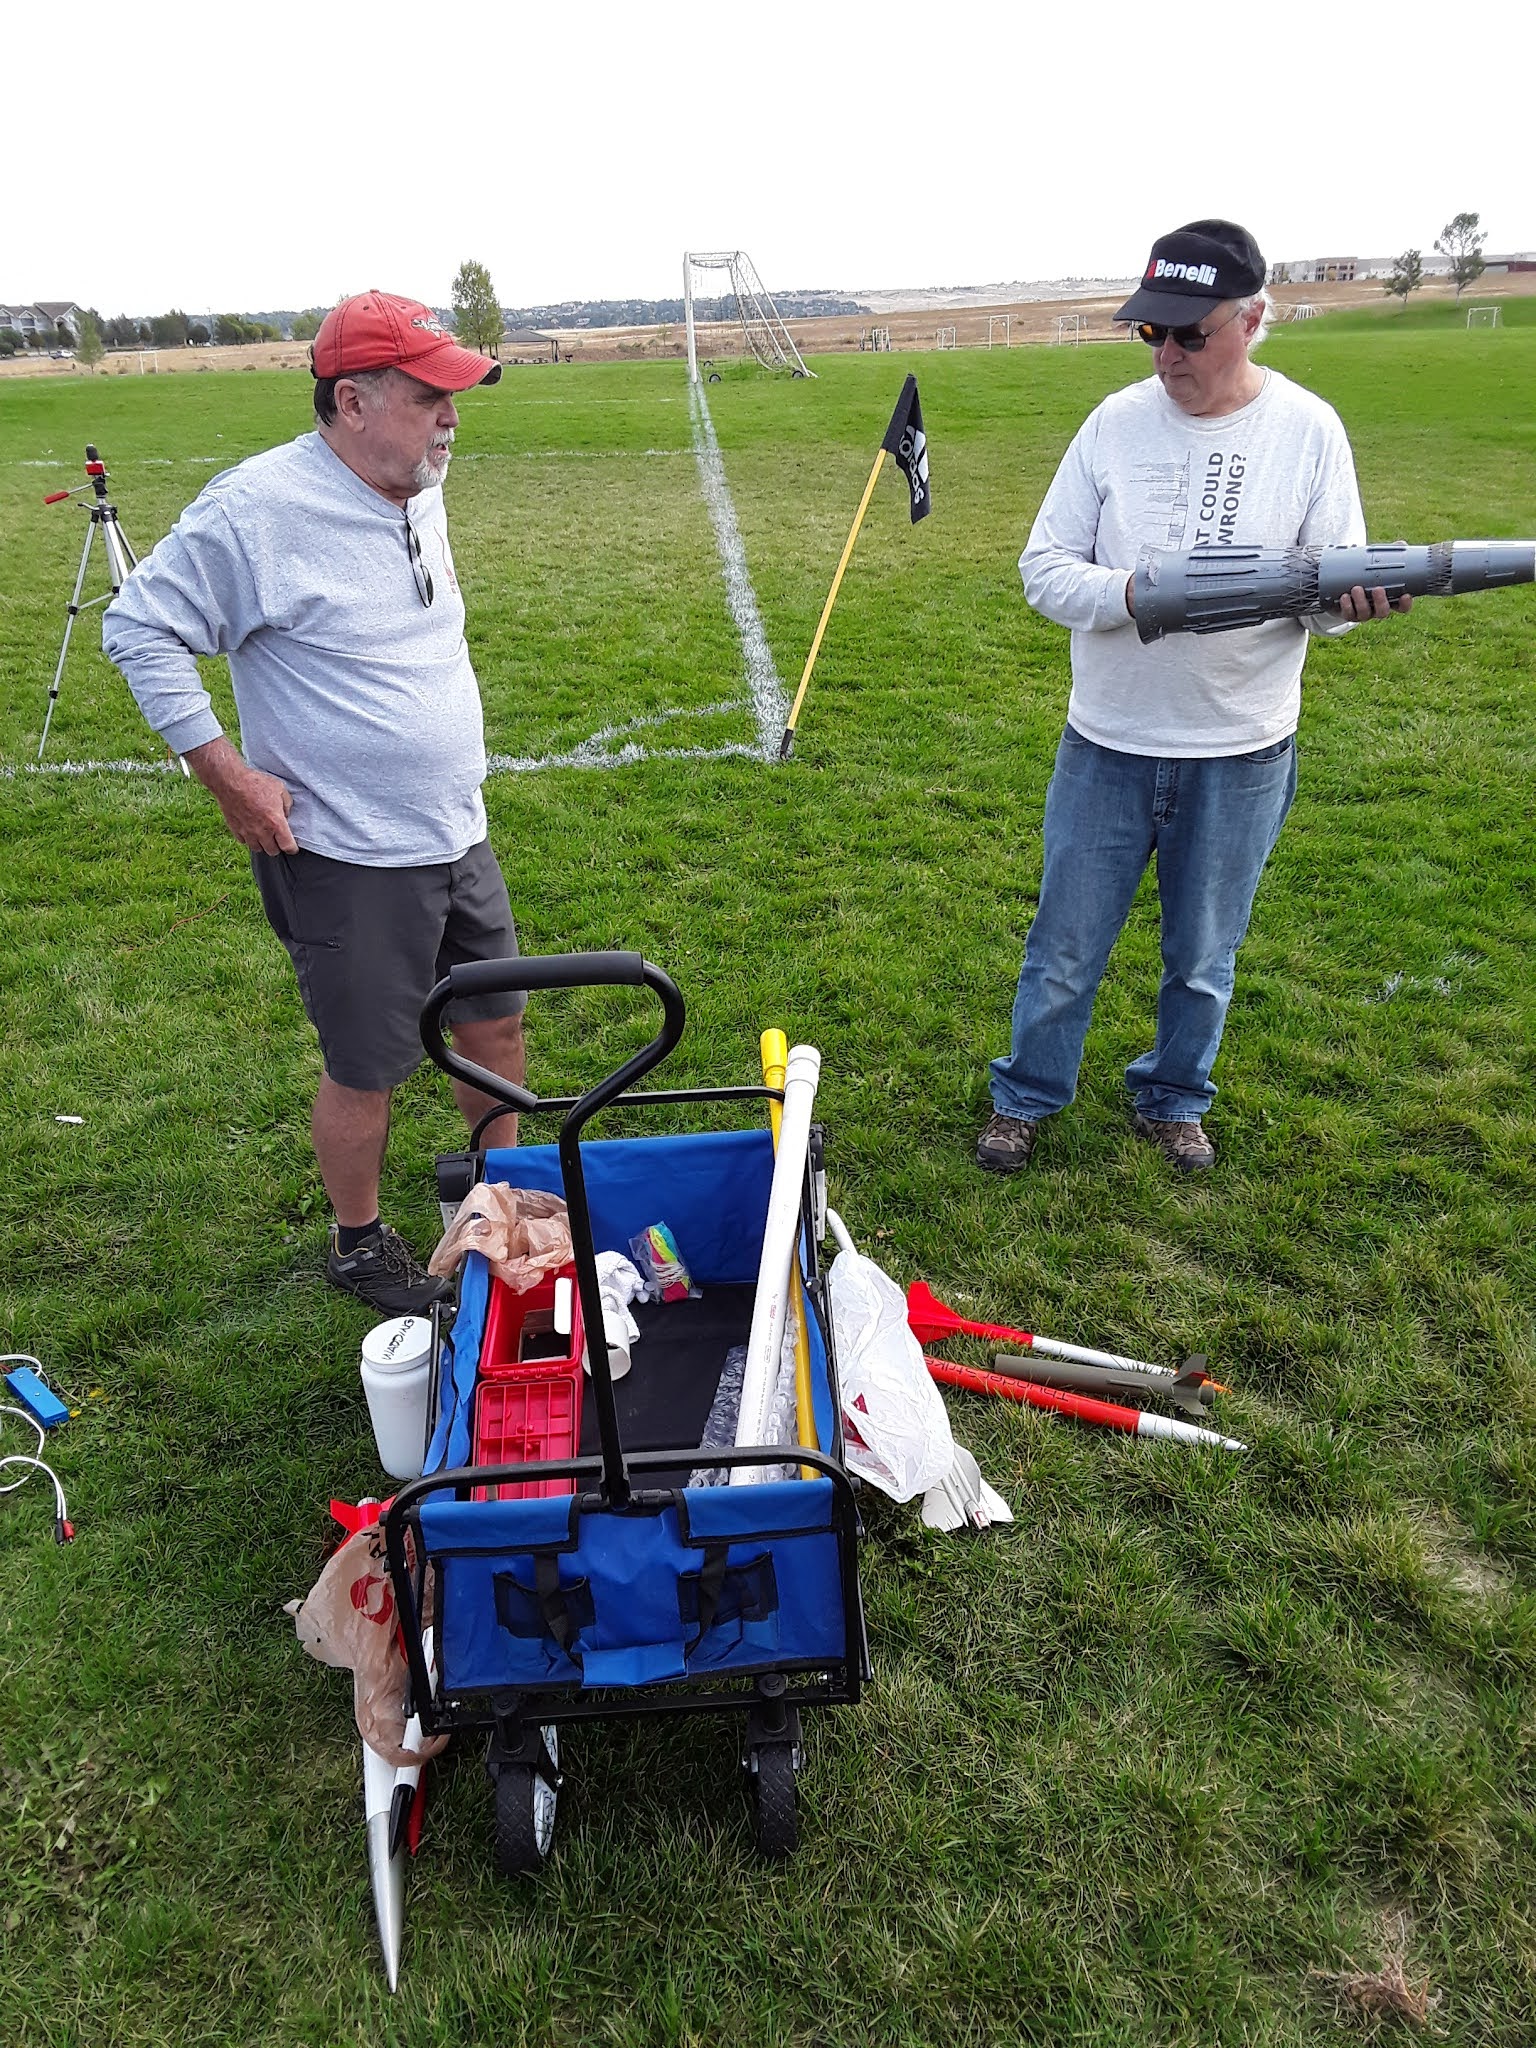
With that done, the intrepid group of BARs packed up and vacated the field after a perfect day of model rocket flying.

Here's a parting shot of Lee and Jim engaged in deep on-field conversation - talking rockets, no doubt!