I had pretty much resigned to sticking with the friction fit method, which would be somewhat of a pain out on the flying field, since the engine is well recessed between the two side tubes. Inserting and removing the engine casing would be difficult at best.
This scenario changed when I found this while rummaging through a tool drawer in the garage…

This is an extra-length small diameter twist drill bit I had purchased for some long-ago electronics project.
I immediately recognized this as a solution to the Lunar Patrol engine hook dilemma.
The idea is to use the internal music wire hook method about which I posted a short time ago. With this new-found drill bit, I could reach inside the aft end of the rocket body tube, poke a small hole through the engine block right next to the inner tube wall, and insert the music wire down through the top of tube.
With the bit chucked into a standard electric drill, I carefully inserted it into the tube. Keeping the bit carefully aligned against the tube wall, I felt it butt up against the engine block. I had to be very careful that I did not mis-align the bit so that it would not drill through the side of the body tube, or pass crookedly through the engine block. Drilling very slowly, I felt the bit pop through the block.
Sighting down the inside of the body tube, I could see a neat little hole in the engine block in the exact location I wanted it.
Eureka!
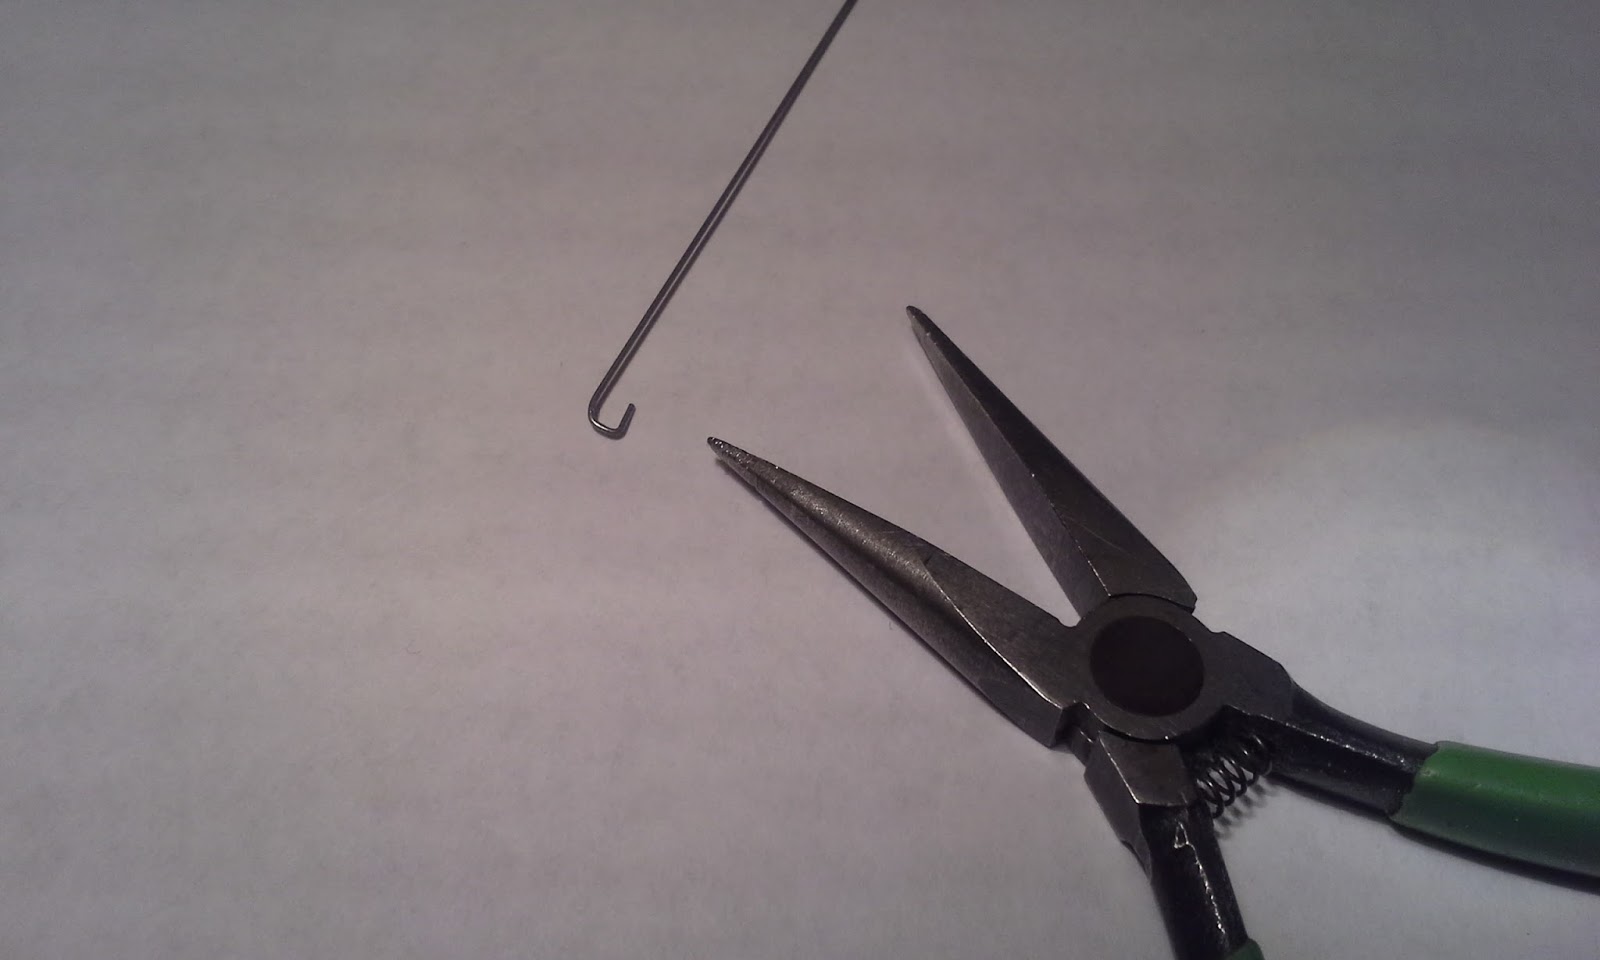
Now it was only a matter of forming a hook on the top end of the long piece of music wire to fit over the engine block, and fishing the wire down the tube to insert in the newly drilled hole.


The right tools and a little engineering work ultimately resulted in a pretty nifty solution to a sticky problem.
Now, I will have to get busy and perform this identical bit of ‘rocket surgery’ on the Star Trooper and Mini-Maggot pop pod, both of which I’ve had perennial problems with friction fit engines ejecting……