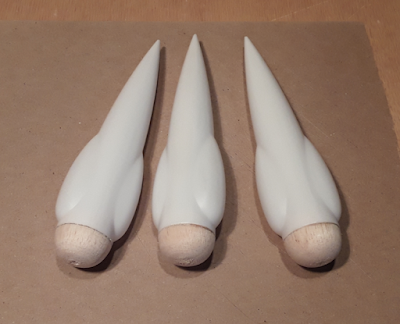
I got so immersed in this portion of the Protostar build that I totally neglected getting out my cel phone and taking the usual photos of some of the various operations involved in assembling the pods.
So, imagine if you will, the following steps:
Hollowing out the tail 'cones': Since these pieces are at the extreme aft of the entire model, I would want them to weigh as little as possible. The parts get hollowed out using a Dremel tool equipped with a cone-shaped sanding stone.
The parts are very light to begin with, but I still don't want to move the model's CG any farther rear than necessary.
Gluing 'em in: A little bit of the thicker flavor of CA works well here.
 Here is a picture of the glued up 'water tanks' three:
Before filling and finishing the pod / end piece joints, I want to place the requisite marks for locating where the fin should be glued, per the kit instructions. This is 1-1/4" from the rear end of the plastic parts.
Now a little bit of CWF is 'spackled into the joints...
a little more CWF is applied to the ends of the balsa pieces where some lathe cutoff mishaps took place...that was a lathe operator error.
...and everything is sanded out smooth and even.
The last step is the normal filling and sanding of the balsa wood grain using thinned CWF.
