Monday, September 10, 2018

BAR Fleet #117 - FlatCat Boost/Glider


Scratch Built From Published Plans


Designer:  G. Harry Stine
Type:  Conventional Pop-Pod
Boost/Glider

Stages:  Single
Engine Type:  18mm
Recovery:  Streamer, Glider
Length:  47.5cm
Weight Empty:  25.0g
Nose Cone:  Short Elliptical
Color Scheme:  Yellow, Orange, Red, and Black with black and chrome silver Trim.

 Glider
Length:  40.6cm
Wingspan:  33.3cm
Weight:   17.6g

 Pop-Pod
Length:  17cm
Diameter:  18.8mm
Weight Empty:  7.4g

Date Completed:  8 September, 2018

Saturday, September 8, 2018

FlatCat Boost/Glider Build, Part 15 - Finishing Up

Now that the paint on the pop pod is dry, it gets some fleet number decals applied.


It's funny to think that this project is only the 117th model rocket I've ever built for my personal fleet.  This quantity includes the 103 birds built between 1973 and 1984.  I've only constructed 14 new models since I became a BAR in May 2016. 

Not an outstanding output.  Perhaps it's because I'm going for quality rather than quantity. (Yeah, Right!).

Of course, I did build many other rockets besides the ones for my personal fleet.  Most of these were birds used by the Skywatchers/ROMAR club for public demo launches back in the day.   I also participated heavily in Estes' build-up program in the late 70s - early 80s.  This usually involved building half a dozen of the same kit side by side.  On a few occasions, I had 3 different build-up kits on the bench to fill one order.  That was 12-18 models being constructed simultaneously!

Anyway, back to the FlatCat:

The pop-pod gets a sealing coat of Gloss Sauce....


...and an application of CA inside the top of the body tube.


Next, the shock cord system is built out of a piece of manila folder stock and a length of cotton string, as specified in the magazine article.

For the shock cord mount, I use a 3-slit method on a flat piece of card stock.  I don't like using tri-fold mounts on any tube smaller than BT-50 because of the bulk.

This mount is very similar to those found in the old MPC kits, though I believe theirs had pre-punched holes.

Now, the pod gets equipped with its very own dedicated 1x16 plastic streamer.


Before permanently gluing in the nose base, it's time to perform balance trimming of the entire model for the boost phase of flight.  The nose is not yet assembled, just in case I need to insert some clay weight.

With the pod's shock cord, streamer and nose in place, I insert a new A8-3 engine into the tube.
The FlatCat will most likely be flown on B4-2 engines, but balancing the model using a lighter A will give it that extra margin of forward stability ballast.

The idea here is to ensure that the model's boost configuration CG is located ahead of the wing leading edge.

The model's CG fell approximately 3/4" ahead of that point.  No trim clay required!

The nose base can now be glued in.

And, I finally have a fully completed FlatCat -  ready for the launch pad!


Cheers!


Tuesday, September 4, 2018

Launch Date: 3 September, 2018 - Model Rocketry Is Alive And Well In Castle Rock, CO !!

I recently had the pleasure of meeting a fellow old-timer model rocketeer who lives right here in the Castle Rock area -  Mr. Jim Gazur.

Jim was heavily involved in model rocketry back in the 1960s - 70s, being a member of the North Royalton Rocket society (NAR section # 180) in Ohio.  He later went on to become one of the founders of the well-known NAR section #337 - SNOAR (Suburban North Ohio Association of Rocketry).

Back in the day, Jim was big into competition rocketry (weren't we all?), having flown in NARAMs 14 and 17.  He was reserve champ at the former.  After joining the U.S Air Force, Jim later went on to become the Program Manager of the Delta II Space Launch program.  Wow...now there's some credentials!

Anyway, Jim found me through this blog, established contact, and expressed an interest in getting together to launch.

After monitoring the local wind and weather websites, it was found that Labor Day might yield up some ideal flying weather in Castle Rock.  The chosen site was the practice/soccer field complex attached to Douglas County High School, my favorite launch spot in the area.

We met at the field at 10 a.m. to find near perfect conditions:  75 degrees, high cloud cover, and wind speeds that ranged from dead calm to not more than 5 or 6 mph.

The field itself was in great shape, and we set up operations on one of the cement pads at the top of a slope mid-field.

I started the festivities off by launching my ol' Hornet for its 40th flight.  The perennially reliable bird turned in yet another perfect performance on an A3-4T engine.


The next bird of the pad was Jim's first model rocket launch as a BAR.  This honor went to his Alpha III, which also turned in a picture perfect A8-3 launch and recovery.


Following this was my newly built Alpha, also on A8-3 power.  The model turned in a very nice flight, but as I was watching it come down on the parachute, I saw some object falling.  It was the expended engine casing which had somehow ejected even with an engine holder in place.  How did that happen? The casing landed a mere two feet from me.


A pair of battle-tested Old Fart BARS  launching Alphas. 

Go figure.


By now, Jim was starting to pull some more interesting birds from his model box....

....like a Pegasus 1/48 scale V-2 plastic conversion!


Sadly, I didn't get any launch pics of this one.

The model turned in a nice straight-up boost, but experienced some ejection issues that caused a less than perfect landing.  Damage was minimal, and appeared repairable.


Next model up was my new Satellite Interceptor for its maiden flight.

The model boosted nicely on a B6-4 engine.

The parachute ejected but did not open. 

Fortunately, the falling model assumed a horizontal attitude during its descent and made a relatively soft landing on the turf.

No damage whatsoever.


The next model to be prepped and flown was Jim's very nice looking Ariane 4 plastic model conversion from the Heller 1/125 scale kit.

Upon ignition, the model boosted, arced over, and pranged a short distance from the launch pad. 

The impact looked worse than it really was due to all of the removable booster pods detaching and separating. 

Only one piece of the main rocket broke. 

Jim determined that it can be repaired again to flying condition. 

He surmised that the C6-3 engine used for the flight didn't provide enough airspeed to sustain stability. 

He plans on modifying the model to fly on a D12.


Plastic model conversions can indeed be some of the trickiest model rockets to build and fly.


For the next flight, Jim prepped a very unusual looking device...


This strange looking model is a  Vortico by Rocketarium.

Essentially, it is constructed from pieces of plywood configured to exhibit a spinning flight.

The model boosted straight and high, spinning both on the way up and down.

Jim describes the model as

"Great fun, interesting to watch fly, small-field friendly, easy prep - it's a winner!"

He flew the bird twice - on a B6-0 and later with a C6-3. 

Definitely a very cool model rocket!


Next up was my Estes Lynx on an A10-3T engine. 


Again the model turned in its signature excellent performance, coming in for a soft landing mere feet from the launch pad!


After this, Jim produced yet another interesting looking bird.

This little glider vehicle is a Zoomie from Fun Rockets, Inc.


Flying on the kit-recommended 1/4A- 3T, the model boosted nicely, but didn't have a chance to transition into glide before the model impacted into the turf. 


Jim says a 1/4A-1T would probably work better, if there were such a thing!


The next  model flown was my newly-built Canopus 2.  It is designed as a three engine cluster bird, but today I opted to send it on its maiden flight in single engine configuration using a B6-4.

The model flew perfectly straight and high, with good parachute deployment and recovery.

The bird was subsequently prepped and flown a second time with the same great results.


Jim and I closed out the launch session by each flying our Alphas for a second time.  Both flights were excellent and problem-free.

All in all, fourteen flights were launched between us.

We both look forward to many more Castle Rock launches in the future!


BAR Fleet # 115 - Canopus 2


Custom Design
Designer:  Edward Mitton
Type:  Three Engine Cluster
             Sport Model

 Stages: 1
Engine Type(s):
          Core – 18mm
          Boosters (2) – 13mm
Recovery:  Parachute

Length:  58.1cm
Diameter:  18.7mm
Weight Empty:  37.4g
Nose Cone:  Tangent Ogive
Fin Type:  Clipped Delta
Number of Fins:  4
Color Scheme:  Red, Yellow
     Chrome Silver and Black Trim

 Date Completed:  1 September, 2018

 An Old Fleet Re-Build

 The Canopus 2 is a re-build of an original model rocket first built in 1974.  It is not a scale model of any of the Argentinian sounding rockets of the same name.

The model can be flown with a single 18mm engine or in cluster configuration assisted by two zero-delay 13mm engines in the side boosters. 

The model is very stable and has consistently proven to be a very good performer, and quite fun to fly.   With a C engine in the core and a pair of A10 boosters, the model can achieve very respectable altitudes.

 The Canopus 2 was submitted and published in the September, 1983 issue of The Model Rocketeer Magazine.  The ‘Canopus 2 with Stars’ decal on this model is made from the design in those published plans.

 
For this particular build, the fins are constructed from 1/16 basswood rather than balsa like the original model.
Noses are from the current PNC-5 and PNC-20 packs from Estes Industries, and differ slightly from the balsa noses used on the original model.
All three engine retainers consist of the 20 guage music wire internal hooks that I have consistently been installing in most recent model builds.
Finally, a decal was affixed to the model bearing my old NAR number, since this is a re-build of a bird from the NAR membership days.  
 
More Pics...


Thursday, August 30, 2018

FlatCat Boost/Glider Build, Part 14 - Pop Pod Painting Party

Today is the day to apply the color coats to the FlatCat's pop-pod.

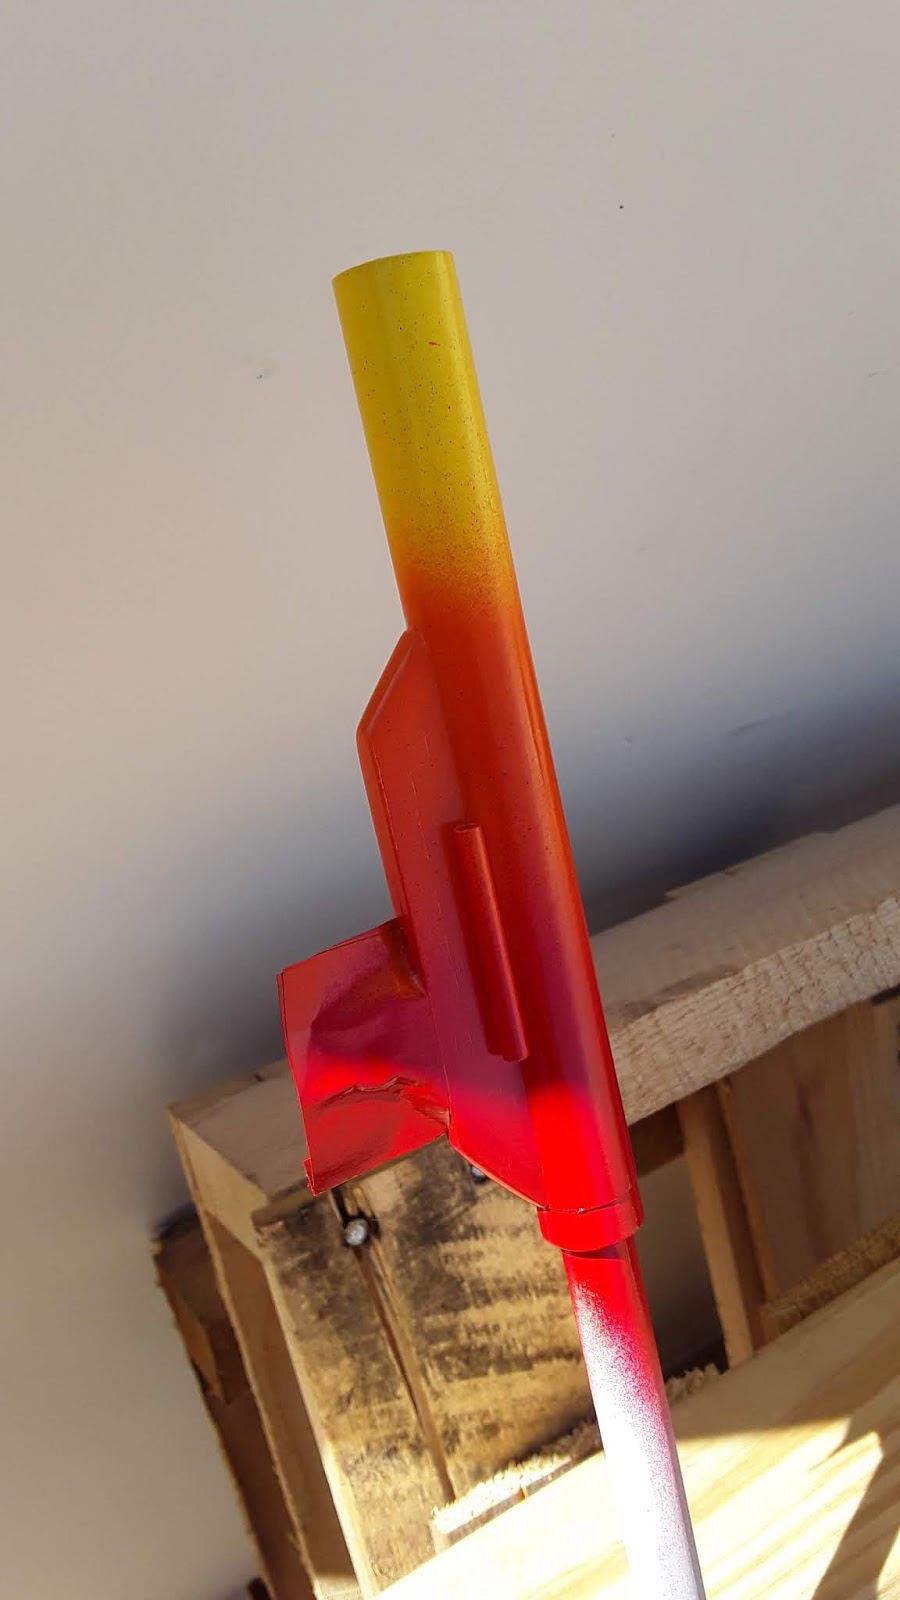
I'm continuing on with the yellow/orange/red motif used on the glider.

At first, the thought had been to mask off each color area to make straight section demarcations, but I decided to go with the color-fade effect instead.  I think it looks cooler, plus it won't take any time at all to do, since there won't be any measuring and masking.

First the YELLOW.....


ORANGE....

….and RED


Now, it's on to final marking, sealing, and installing the recovery system...


Tuesday, August 28, 2018

Whatever Shall I Do With All These Tubes?

Over the past couple of weeks at my workplace, I have been unpacking and installing a lot of small air system regulators.  Each one comes with a couple of short cardboard tubes protecting the ends of the units.  I've accumulated bunches of the things.


I'm thinking some sort of knock-together scratch-built ring-finned model rocket.

Also, the smaller diameter tubes look like they just might be a slip fit over a BT-50 tube.  Lots of possibilities there, too.

Must don my tin-foil, imaginative-thinking, odd-ball-model-rocket-designing headgear.....

Monday, August 27, 2018

FlatCat Boost/Glider Build, Part 13 - Pop-Pod Prime-Time

I didn't have very much time this past weekend to do a lot of rocket building work, but I did manage to get the primer coats and sanding finished on the FlatCat's pop pod. 

The 'Piece X', of course, is masked off so there is not paint build-up that would interfere with its fit in the glider nose slot.


All that remains with this build is applying the pod's color coats, markings, and seal finish, followed by the installation of the recovery system and trim balancing for boost stability.

Cheers.