The first step in mounting turning stock to the face plate is to construct a mounting plate. This consists of a piece of wood that can be screwed to the metal face plate. For most LPR nose cones I use a piece of 1x4 dimensional pine cut to 3-1/2" square.
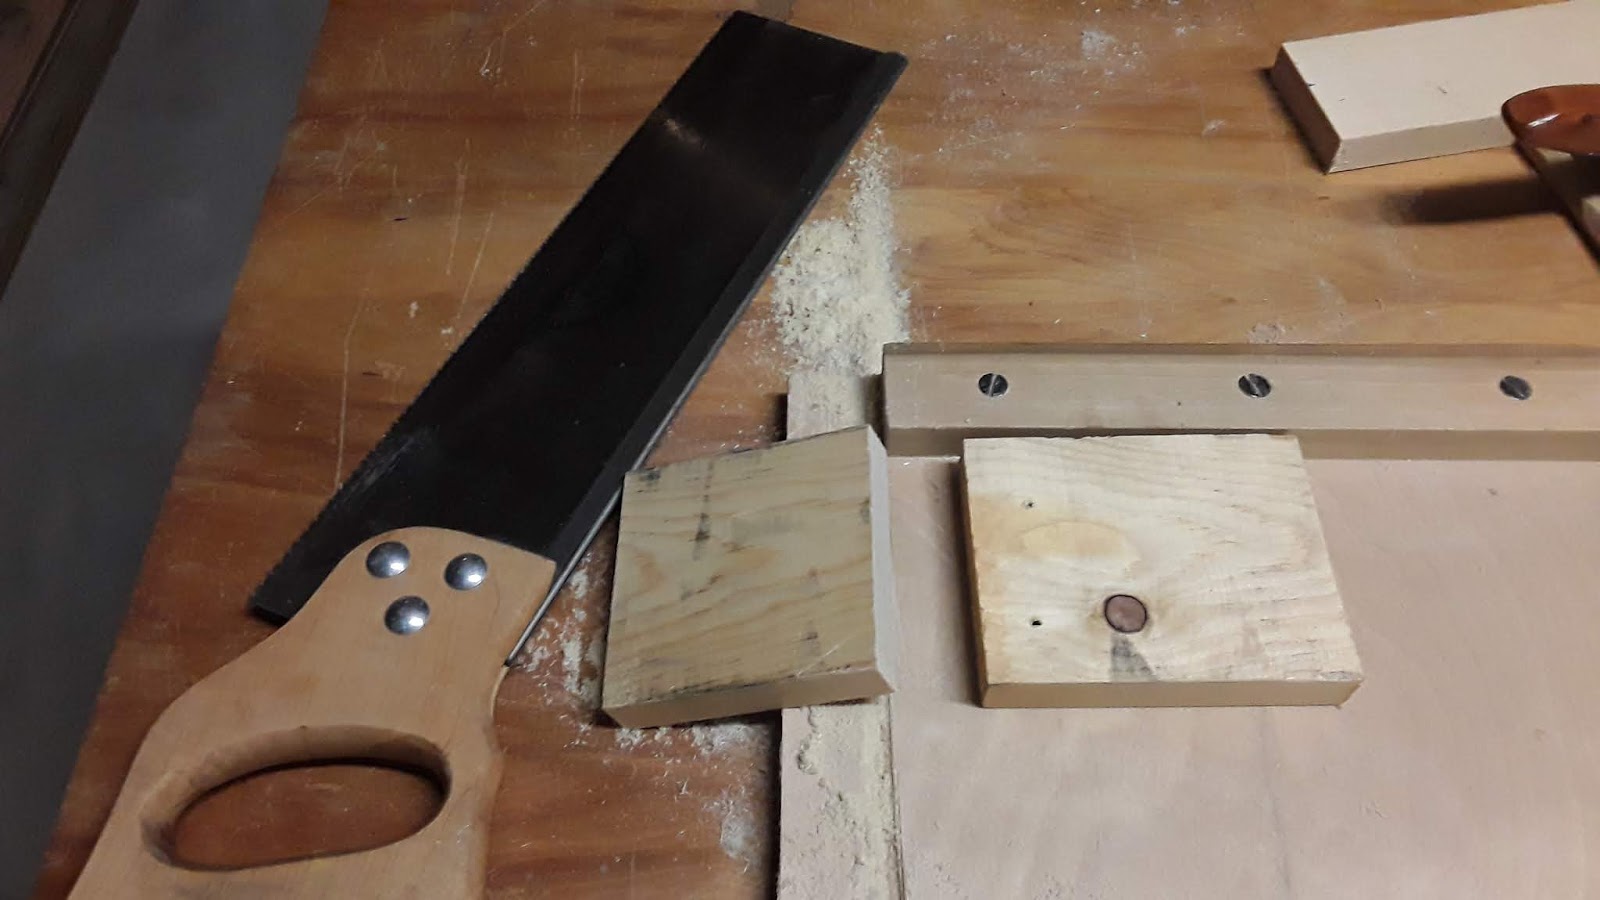
Again, turning to my arsenal of hand tools, I use a backsaw and a bench hook to cut the board.
Drawing lines diagonally across the board establishes the center point. This is done on both sides of the board.

The board is then lined up with the mounting holes on the lathe face plate. The reference lines drawn on the mounting board should appear evenly aligned in the face plate when viewing through the mounting holes. If done properly, the board should end up well centered on the plate.


A scratch awl is used to mark the locations of the holes on the mounting board.
(Geez, who else uses awls these days?)
Using the awl holes as guides, I drill out pilot holes for the screws.
Vintage 'eggbeater' hand drill this time.


The board can now be screwed to the face plate, using #8 x 3/4 hex head sheet metal screws.
Next, some white glue (or yellow wood glue) is applied liberally to the end of the balsa stock.


And the stock is carefully placed into position onto the mounting board. If the corners of the square stock line up precisely with the diagonals lines drawn on the mounting board, everything should be centered and aligned.
A weight is placed on top of the stock to keep things in place while the glue dries. In this instance, I'm using a baby food jar full of nickels.
Next, it's off to the lathe to start turning....