This is more for sealing the grain and providing a better surface after sanding for coloring the model with permanent markers.
The trim weight cavity in the glider's nose made a perfect place to insert a dowel to hold the model for drying.

The FlatCat's primer coat is now dry, and all the surfaces get a finish sanding with 400-600 grit paper.
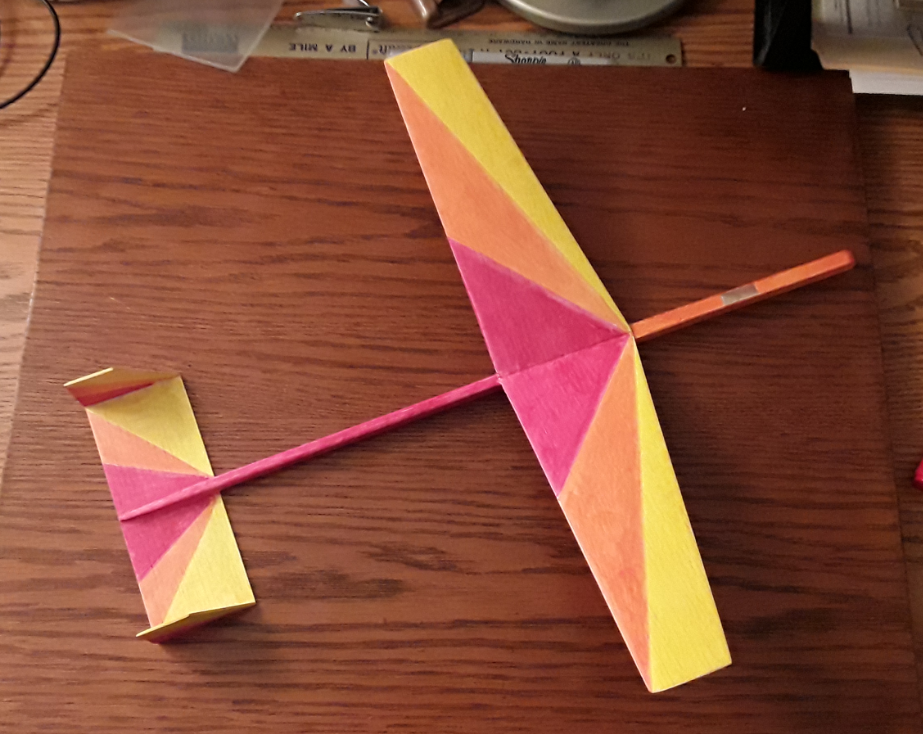
Now I can begin layout of my chosen décor pattern and applying the marker color coats:YELLOW....

ORANGE....

RED....
...and BLACK for the bottom side of the wings and horizontal stab.

The downside of coloring a wood model with markers is that it is nearly impossible to get neat, even color coverage. There will always be marker streaks and mottling. On a boost/glider, aesthetic appearance is the trade-off for having a light weight finish. Still, it doesn't look too terrible.
No comments:
Post a Comment